13 July 2026
Journaling
Tools for Possibilities: issue no. 198
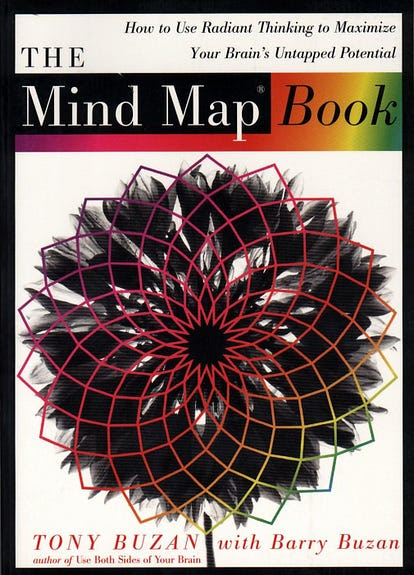
Radial thinking
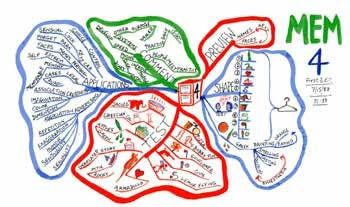
Mind maps are a tool for thinking. Instead of arranging your ideas in a sequence — as a list of words — you draw them in an arboreal fashion, radiating out from one starting notion. Mind maps use pictures instead of words, radial branches instead of linear lists, starfish instead of ladders, and associations instead of priorities — and as a result you think different. The visual trees you generate as you mindmap mirror the dendritic nature of our brain, and seem to flow more organically and (after practice) with less effort than the rigid discipline of making 1,2,3 textual notes.
They are easy to doodle. Anyone can make them. Kids and CEOs as well as creative types. I’ve come to employ this style of radial association in my own note taking and personal brainstorming. You don’t need this book to do it, but the book will help you refine your style, and it will help you expend its use. The authors, who’ve been perfecting and evangelizing this technique for decades, offer advice on how to use mindmaps to teach, as a form of diary, and most importantly, as a group exercise, say in corporate brainstorming sessions.
There are software programs for mindmapping (which I have not tried), but for me the intensely kinetic mode of drawing ideas (if even on tiny scratch paper) is a great part of the technique’s ability to produce new and different perspectives.
— KK
- Always use a central image
An image automatically focuses the eye and the brain. It triggers numerous associations and is astoundingly effective as a memory aid. In addition an image is attractive – on many levels. It attracts you, it pleases you and it draws your attention to itself.
If a particular word (rather than an image) is absolutely central to your Mind Map, the word can be made into an image by using dimension, multiple colours, and attractive form.
Use images throughout your mind map
Using images wherever possible gives all the benefits described above, as well as creating a stimulating balance between your visual and linguistic cortical skills, and improving your visual perception. - Variation in size is the best way of indicating the relative importance of items in a hierarchy. Expanded size adds emphasis, thereby increasing the probability of recall.
In order to develop a truly personal Mind Mapping style, you should follow the ‘1+’ rule. This means that every Mind Map you do should be slightly more colourful, slightly more three dimensional, slightly more imaginative, slightly more associatively logical, and/or slightly more beautiful than the last. - Progression of noting a ‘very unhappy afternoon’ in which application of the Mind Map laws brings the noter much closer to the truth.
- The Mind Map is an expression of Radiant Thinking and is therefore a natural function of the human mind. It is a powerful graphic technique which provides a universal key to unlocking the potential of the brain. The Mind Map can be applied to every aspect of life where improved learning and clearer thinking will enhance human performance. The Mind map has four essential characteristics:a) The subject of attention is crystallised in a central image.b) The main themes of the subject radiate from the central image as branches.c) Branches comprise a key image or key word printed on an associated line. Topics of lesser importance are also represented as branches attached to higher level branches.d) The branches form a connected nodal structure.
Mind Maps are particularly useful for chairing meetings. The chairperson has the agenda on a basic Mind Map and can use this fundamental frame to add thoughts, guide discussions, and record the basic outline of the what will eventually be the minutes of the meeting. Colour coding can be used to indicate action, ideas, question marks, and important areas. Chairing a meeting this way allows the person in the chair to be much like a captain of a starship guiding it safely through the clusters and galaxies of ideas.
An essential life skill
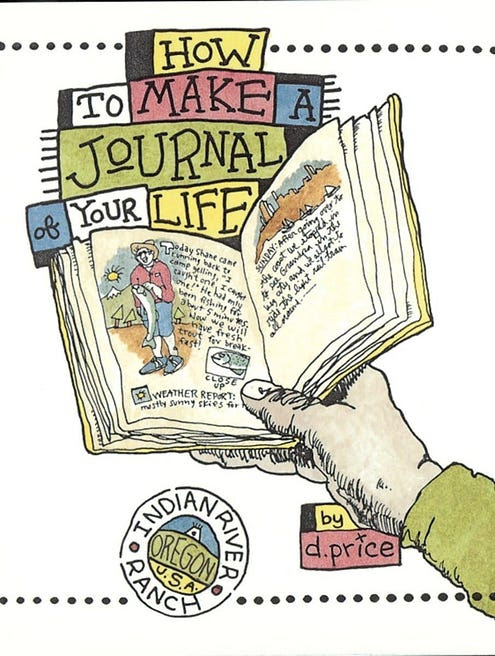
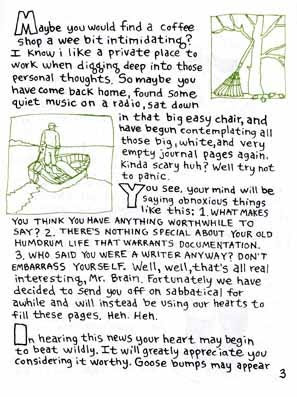
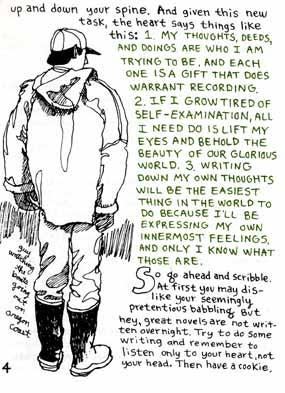
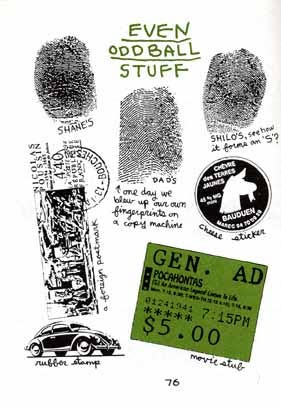
How to Make a Journal of Your Life
Most people take journaling either way too serious, or not serious enough. For such a key life-skill it should be more like you — expressive, idiosyncratic, unique. This tiny chapbook is the best guide I know of to get you started in journaling, and keep you going. Hand drawn with inspiration, it properly emphasizes the value of graphic thinking in the examined life. It is wise, brief, and fun. I’ve given one copy to each of my kids. Although it does not mention blogging, and assumes you’ll use a notebook, I think every blogger and blogger-hopeful should read it. — KK
Once a week we’ll send out a page from Cool Tools: A Catalog of Possibilities. The tools might be outdated or obsolete, and the links to them may or may not work. We present these vintage recommendations as is because the possibilities they inspire are new. Sign up here to get Tools for Possibilities a week early in your inbox.
07/13/2612 July 2026
Sensing Wonder / Worse on Purpose / Ultimate historical maps
Recomendo - issue #522
Sensing Wonder
One of my favorite newsletters, Down the Rabbit Hole, is a weekly, curated collection of psychoactive internet rabbit holes exploring meaning, beauty, and aliveness. The creator recently shared a virtual “window” you can click open that sends you to one of the most-clicked links from the past five years. It feels like StumbleUpon with soul— tiny portal into wonder. — CD
Worse on Purpose
I’ve been burned by buying a “buy-it-for-life” brand only to discover the company and the logo were sold years ago. Worse on Purpose rates 215 brands — tools, bags, apparel, eyewear, and footwear — as either Approved, Watchlist, Former Great, or Avoid. A sample: Ray-Ban is designated “Avoid” (“Priced as luxury, produced to commodity standards”). Another example: Peak Design is designated “Approved”, (because it is still founder-owned). — MF
Ultimate historical maps
Imagine having access to all the ancient maps of the world, and being able to explore them with AI, including searching on the words etched in the maps, or concepts about the maps – for instance “give me all the maps showing the routes of Roman aqueducts.” All this and more are available online for free, at the David Rumsey Map Collection. For 25 years Rumsey has been scanning over 140,000 maps of all kinds from his insane collection from around the world. He then innovates ways to share them. When you find a map you particularly like, you can tap a button and have it printed out on a large scale and mailed to you for a reasonable fee. This is an international treasure. — KK
Decent kid’s shows
What was the most streamed show in 2025? Bluey, a kids animated show from Australia. Bluey has about 150 very short episodes using an animated dog family to model emotional intelligence and give toddlers strategies for big feelings. Like Sesame Street, adults can tolerate watching it. I think early Sesame Street is better, teaching more and broader, but Bluey is a good second choice. (Technically streamed on Disney+, but available on YouTube as well.) Because episodes are shorter (about 10 minutes), small kids love rewatching them. — KK
Cushy airplane seat
I just got back from an overseas trip, and this inflatable travel seat cushion made a 10+ hour flight—and those board-hard seats—so much more bearable. I was hesitant to become someone who carries a personal butt pillow through the airport, but I’m glad I got over it and brought it along. It deflates and rolls up smaller than a neck pillow. — CD
MeatStick V Duo wireless meat thermometer
I’ve ruined my share of meat by cutting in to check doneness. The MeatStick V Duo uses two wireless probes that you can put into two different cuts, and the app predicts when each will hit its target temperature. A small LCD base shows the temps so I don’t have to grab my phone with greasy hands. The probes can handle open flame up to 1200°F and are dishwasher safe. — MF
Sign up here to get Recomendo a week early in your inbox.
07/12/2610 July 2026
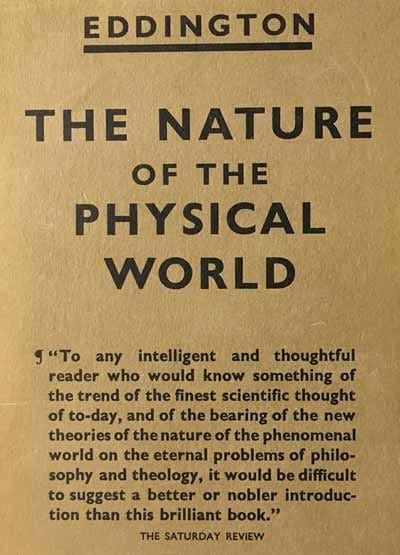
Book Freak #217: The Nature of the Physical World
Arthur Eddington on the Strange Gap Between Science and Experience
Get The Nature of the Physical World
The Nature of the Physical World was written by the astrophysicist who confirmed Einstein’s relativity. It explores how modern physics has dissolved the solid world we thought we knew into something far stranger, and more connected to mind than we imagined. You can get it for free from Project Gutenberg.
Core Principles
1. You Are Sitting at Two Tables
Eddington opens with a famous thought experiment: he is writing at two tables. The first is the familiar one: solid, colored, substantial. The second is the scientific table—mostly empty space pervaded by electrical particles rushing around at great speed. Both descriptions are true. The solid table you lean on is, at the atomic level, almost entirely nothing. We live in both worlds simultaneously.
2. The Physical World Is a World of Shadows
In removing our illusions, physics has removed the substance, for substance was one of our greatest illusions. What remains is a shadowgraph performance of familiar life. The shadow of your elbow rests on the shadow table as shadow ink flows over shadow paper. It’s all symbolic. Then comes consciousness, which transmutes the symbols into experience.
3. Mind Is the First and Most Direct Thing
It is difficult for the matter-of-fact physicist to accept that the substratum of everything is mental in character. But no one can deny that mind is the first and most direct thing in our experience, and all else is remote inference. We start with mind and infer matter.
4. The Stuff of the World Is Mind-Stuff
Eddington’s most provocative claim: the stuff of the world is mind-stuff — something more general than our individual conscious minds, but continuous with our mental nature. The physical world is abstract and without actuality apart from its linkage to consciousness. Actuality, like beauty, requires a mind to be known.
Try It Now
- Look at the table or desk in front of you. Hold both truths at once: it is solid to your touch, and it is mostly empty space. What does this do to your sense of certainty?
- Notice that everything you know about the “external world” comes through your consciousness. Can you find anything you know that doesn’t?
- Consider: physics describes relationships and patterns, not ultimate substances. What would change if you stopped assuming there must be “stuff” underneath it all?
Quote
“It is difficult for the matter-of-fact physicist to accept the view that the substratum of everything is of mental character. But no one can deny that mind is the first and most direct thing in our experience, and all else is remote inference.”
Book Freak is published by Cool Tools Lab, a small company of three people. We also run Recomendo, the Cool Tools website, a YouTube channel and podcast, and other newsletters, including Recomendo Deals, Gar’s Tips & Tools, Nomadico, What’s in my NOW?, Tools for Possibilities, Books That Belong On Paper, and Book Freak.
07/10/2609 July 2026
Travel Noise Machine/Golden Visas/Easier TSA PreCheck
Nomadico issue #214
LectroFan Alpha Noise Machine
I’ve reviewed a few different noise machines on here because my wife’s a light sleeper and I’ve found that these things are more effective than earplugs in a noisy hotel room or apartment. This LectroFan Alpha one I’ve used recently is marketed to parents of young children, with a place to clip it onto a crib or a flip-out stand to use on a table, but it’s fine for travelers with no kids too. It has a range of continuous sounds that include calm and heavy ocean waves, regular and heavy fans, pink noise, and brown noise. There’s also a heartbeat option that seems creepy to me, but maybe that’s good for a baby or pet. Recharges by USB, easy to pack and 4 ounces.
Remaining Golden Visa Options
If you have enough money or assets, a quick path to residency and even citizenship is to get a “golden visa” that fast-tracks you in exchange for investing in the country. Some of these have worked too well, like in Portugal, so governments have scaled back. There are still more than 30 of them out there though and the New York Times ran down a few, complete with minimum investment levels. See the full story here. (Paywalled, but available free with e-mail, Google, or Apple sign-in. Via Kevin Kelly.)
Narcissism Drives Return-to-Office Mandates
You probably had a feeling that the bosses making everyone come back to the office were doing it because they’re too full of themselves, but now we have proof. This scientific study won me over from the start with its title: Worship me at the office altar: Why narcissistic leaders resist remote work. This is an exhaustively researched study, with hundreds of supporting footnotes and links, and the conclusion is clear. In short, these leaders want to see, be seen, exert power, and demonstrate control, all much tougher without physical proximity. “The sparseness of remote communication can make it more difficult for narcissists to satisfy these cravings for power and status.”
Add TSA PreCheck to Google Wallet
I’m sure I’m not the only one that has had problems with the tiny TSA PreCheck icon not showing up on a boarding pass sometimes. As of last week, it’s going to get a lot easier to show proof of enrollment because you can now add touchless ID to Google Wallet on a phone. “Now, once a traveler creates a digital ID pass using their passport within Google Wallet, the app automatically handles the TSA enrollment connection during flight check-in.” This means that Touchless ID availability “goes from just six airlines to all 100+ participating TSA PreCheck airlines.” See more info here.
A weekly newsletter with four quick bites, edited by Tim Leffel, author of A Better Life for Half the Price and The World’s Cheapest Destinations. See past editions here, where your like-minded friends can subscribe and join you.
07/9/2608 July 2026
What’s in my NOW? — Grace Godino
issue #261
PHYSICAL
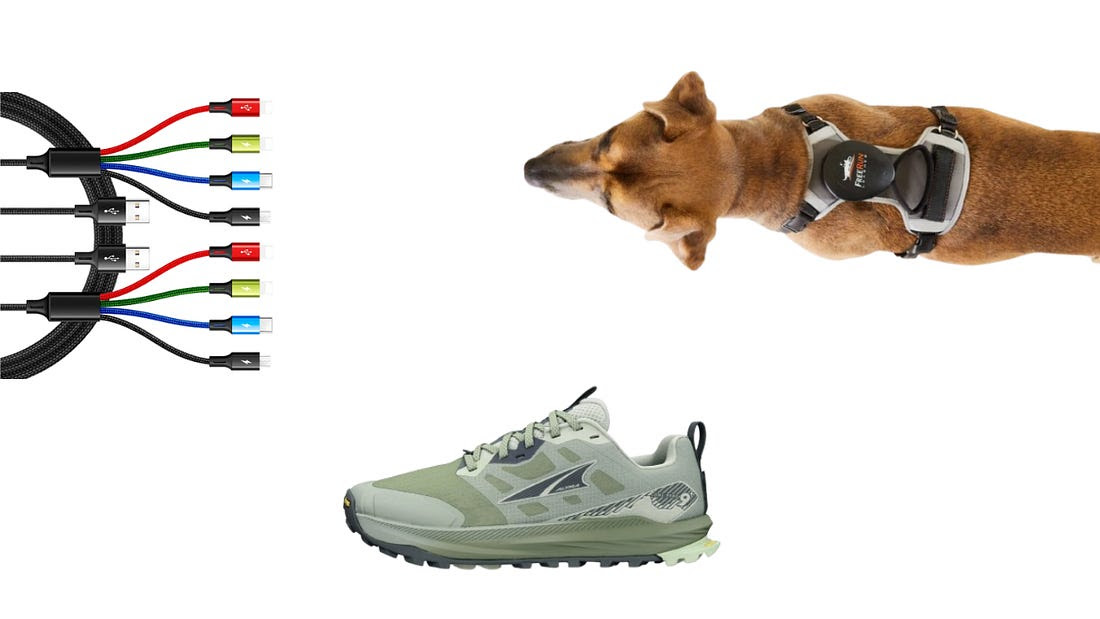
- Free Run dog harness/leash. Built with components of climbing-gear quality, this makes my country dog so happy. Leash when I need it, free when I don’t. Never leave home without it.
- 4-in-1 braided multi-charging cable. This saves me from travel spaghetti and is working great so far. I want one that is lightning, rather than USB, but next time.
- Altra Lone Peak shoes. Zero drop, wide toe box. On my 4th pair. Walked the Norte route of the Camino in these and leaving today for the first half of the Via Francigena. Perfect paired with Aonijie toe socks inside Darn Tough crews. No blisters, cool feet.
DIGITAL
- Marco Polo app. So much fun to share good morning videos with my granddaughter far away. No intrusive ads, no bs, feels secure—I don’t believe in putting kids’ images out in the inter-world.
- Ladder app. I re-committed to strength training in January and Ladder provided just what I was looking for. Love Team Crews Control—functional training for all ages, with an emphasis on maintaining flexibility. Plenty of fun. This is worth the money, IMHO.
INVISIBLE
“Never cut what you can untie.”
Having grandchildren brings this home over and over. My kids’ dad, their bonus mom, their other brother—everyone together for dinner. So glad we all love each other, and also glad we have our individual lives.
Sign up here to get What’s in my NOW? a week early in your inbox.
07/8/2607 July 2026
The Pharos Gate / Felines of New York
Issue No. 125
THE PHAROS GATE: GRIFFIN & SABINE’S LOST CORRESPONDENCE
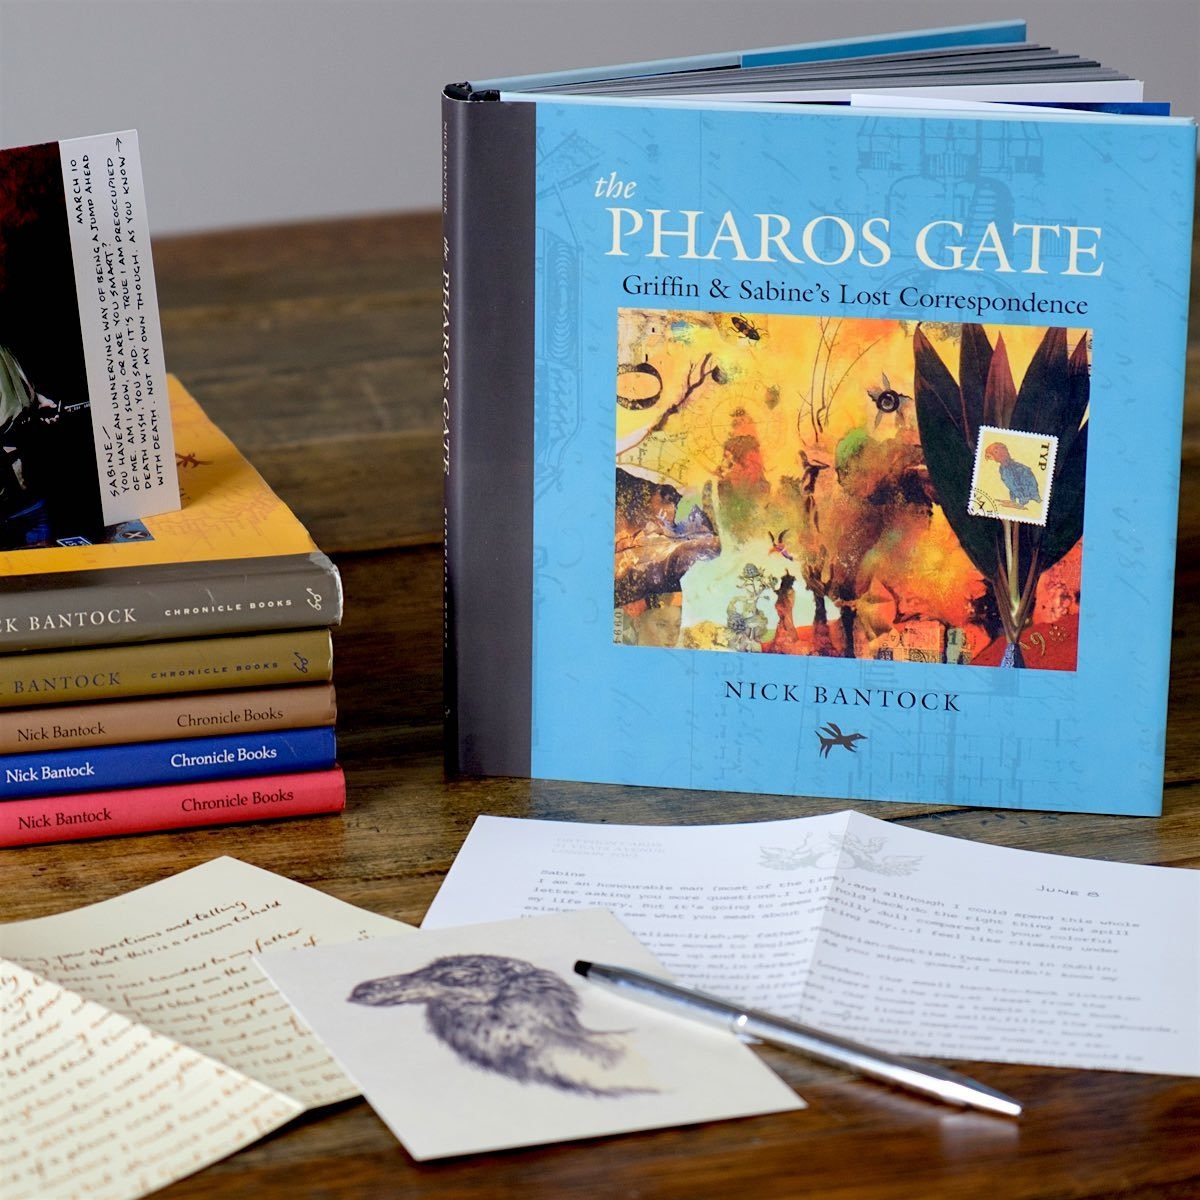
The Pharos Gate: Griffin & Sabine’s Lost Correspondence
by Nick Bantock
Chronicle Books
2016, 60 pages, 8.2 x 8.2 x 0.8 inches
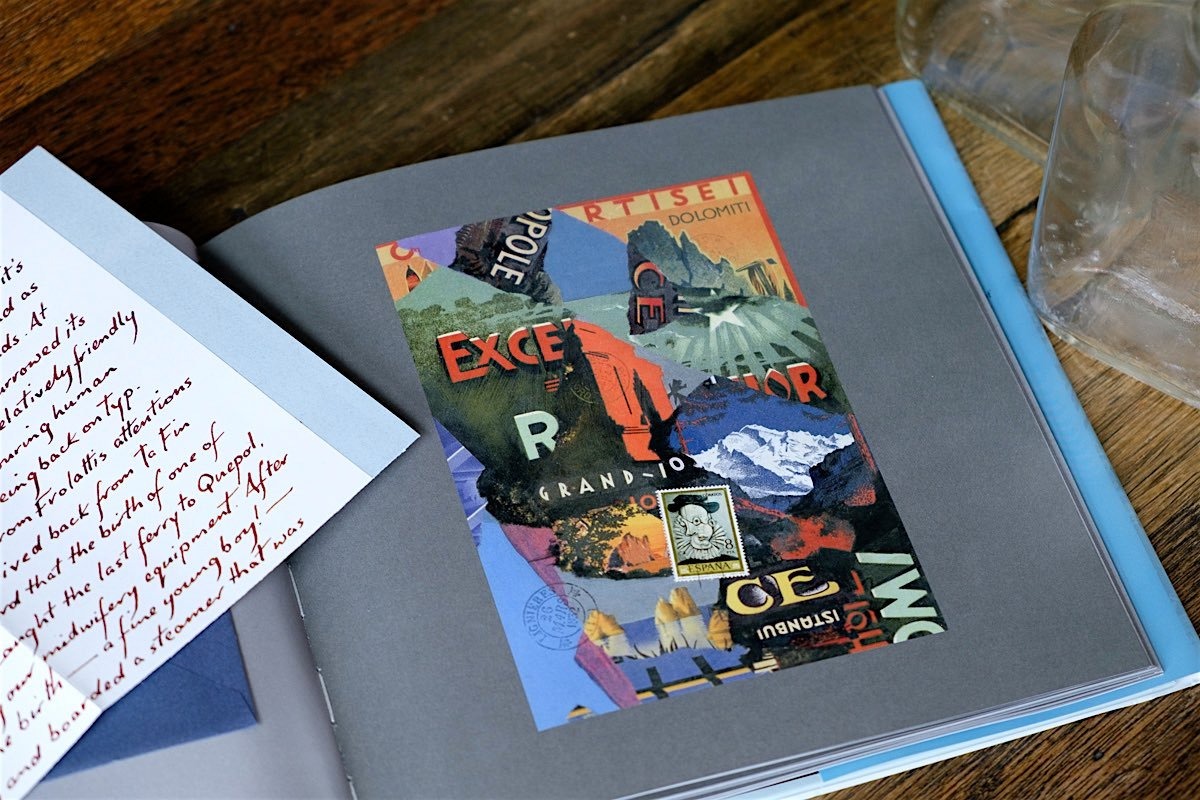
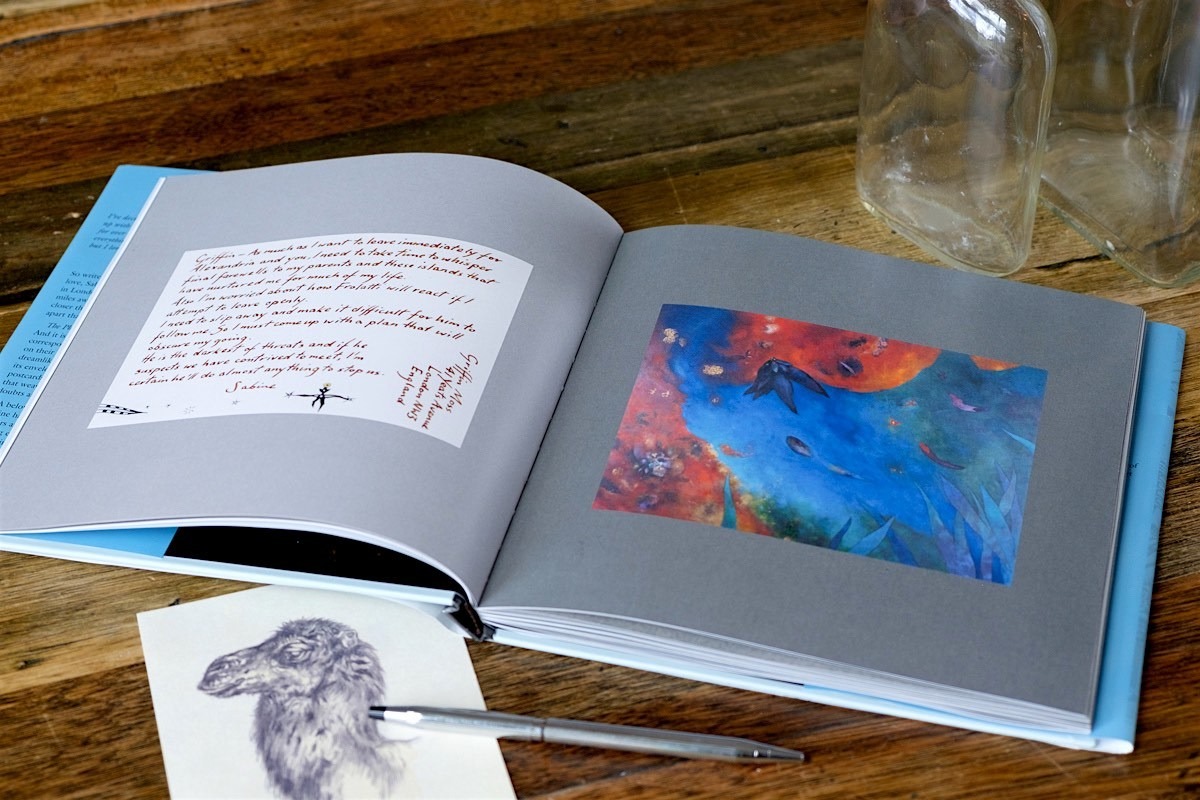
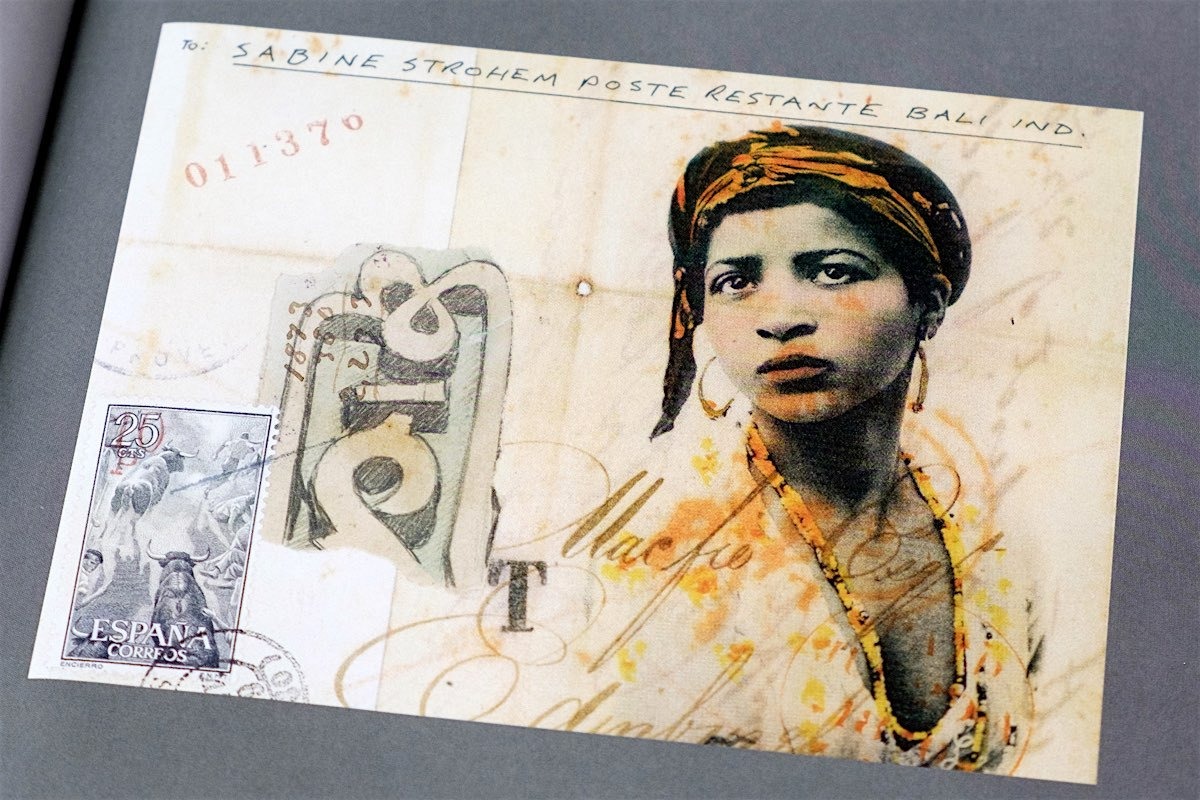
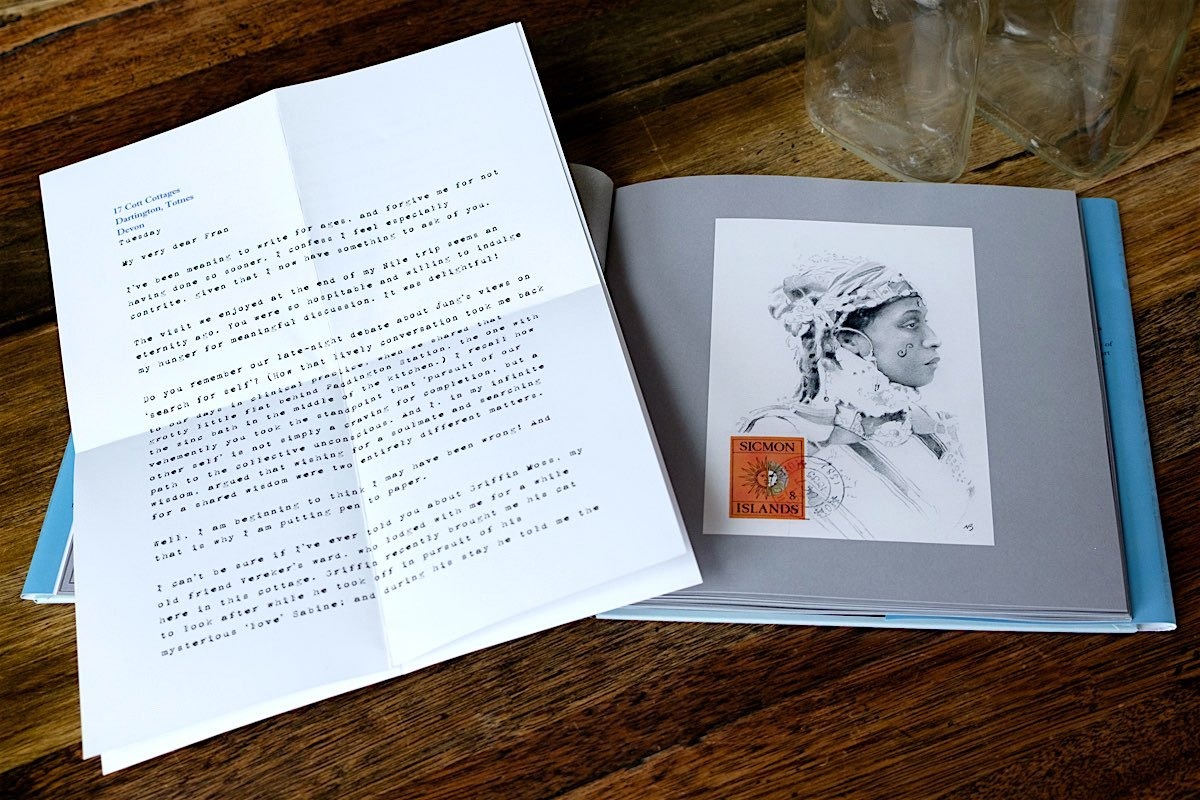
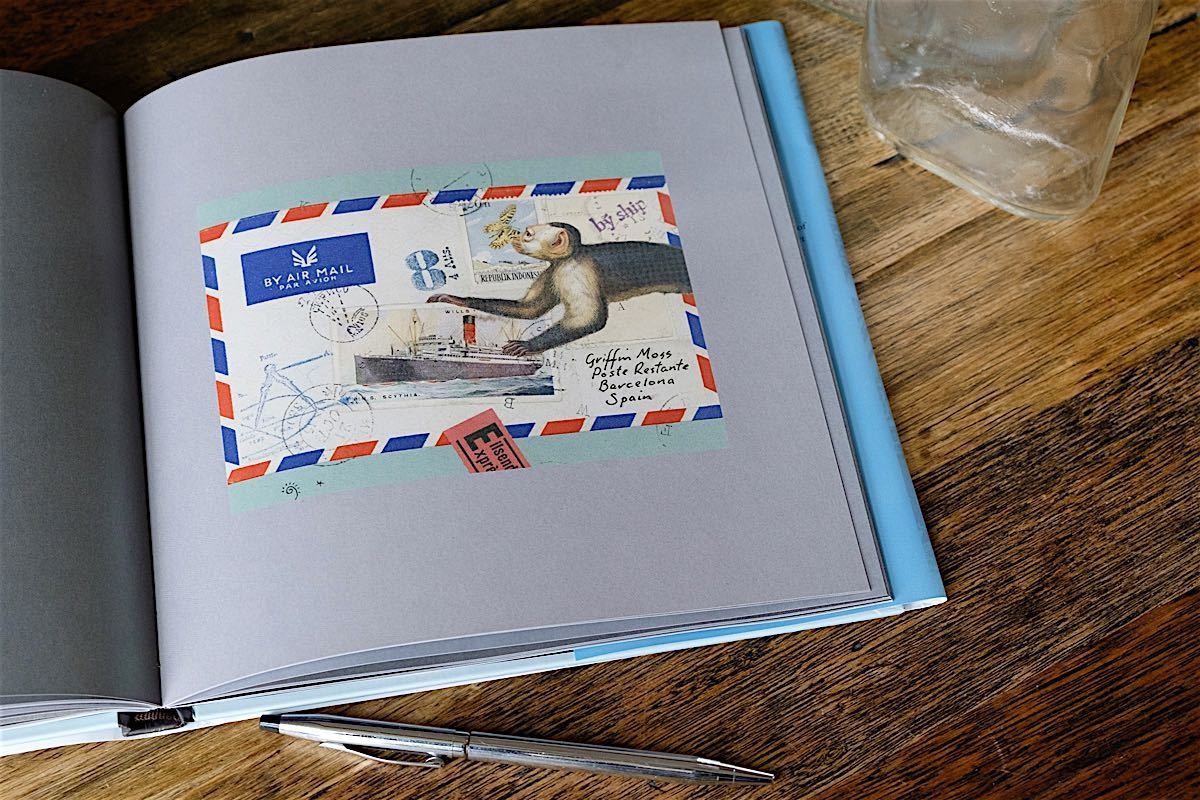
The lovelorn nostalgia and mystical voyeurism of an extraordinary correspondence return in the latest edition of the Griffin & Sabine saga, The Pharos Gate. This is the seventh book in the bestselling series by Nick Bantock and it brings several questions about the unusual love story to a satisfying end. As you might recall, Griffin and Sabine share a peculiar connection through their mail and art that seems to allow them to transcend space and time. As they fall deeper in love, danger looms and they are forced to dodge and hedge around the globe in an attempt to unite. Bantock disappointed some fans by leaving the fate of the lovers somewhat ambiguous at the conclusion of the third book and then launching a new storyline in the fourth book surrounding another unlikely pair of sweethearts. The ultimate fate of Griffin and Sabine remained tantalizingly mysterious until last month with the release of The Pharos Gate. Readers will finally find the answers scrawled in between the lines of the missing letters as Bantock revisits correspondence that has eluded us for more than a decade.
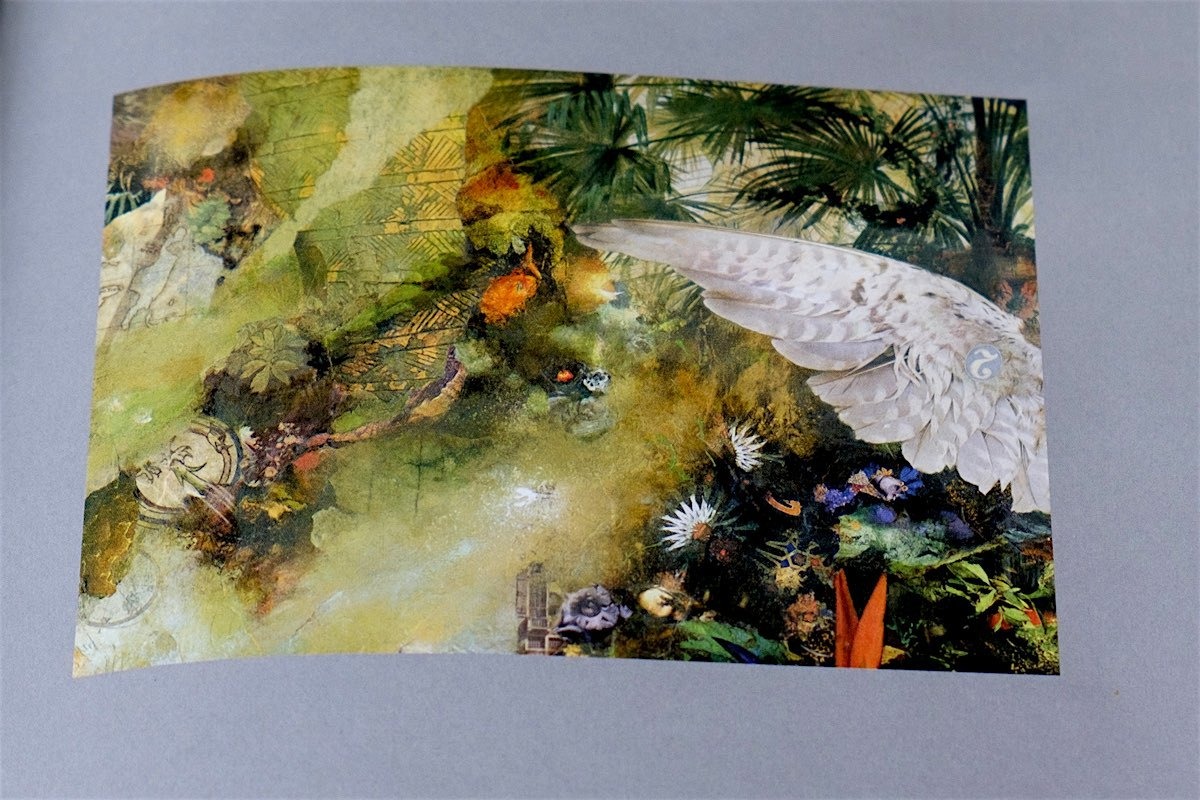
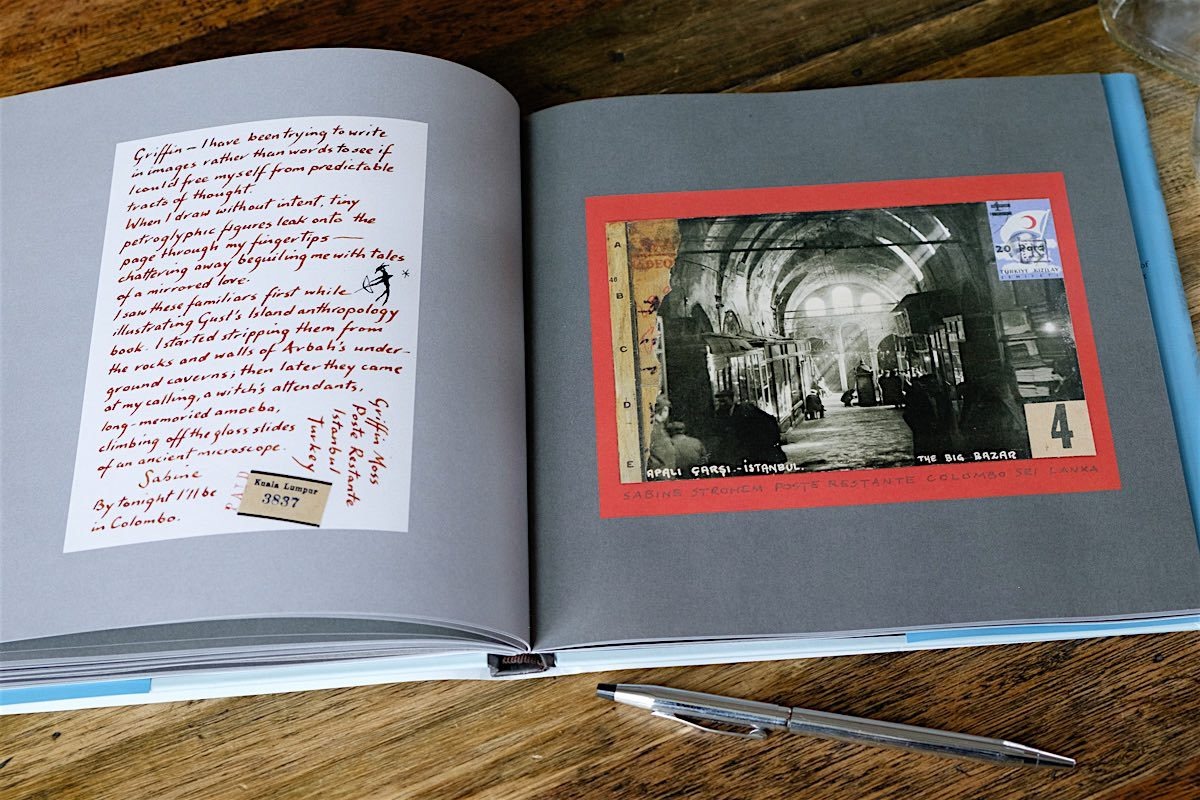
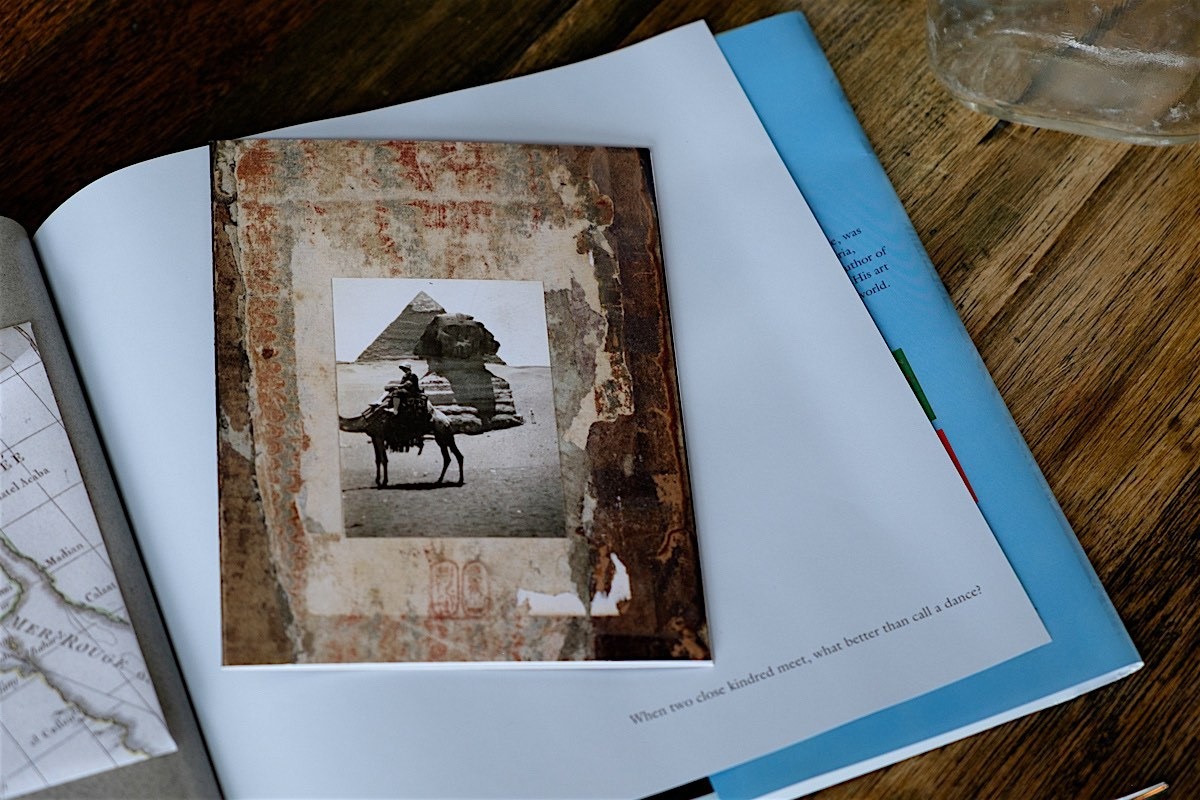
Perhaps in answer to the frustration of fans, this latest edition pays particular attention to recreating the feel of the first books. Fascinatingly strange, juxtaposed images of Egyptian gods and sketches of animals mingle and crowd the pages. Quaint envelopes stuffed with carefully lined type or flowing script anchor the story in art that seems to come alive in your hands, with pages that contain crossed out words and ink blots. You’ll catch clues in the images that align the story with the previous editions and provide new context for the puzzling mystery that the correspondence seems to allude to but never openly discusses. Each page is fashioned with a careful, adept hand that seeks to draw the character’s souls through the marriage of art and words, weaving them together across the continents and oceans. By the time Griffin and Sabine reach The Pharos Gate, you’ll be right there alongside them, clutching their love letters in your hands and gazing open mouthed at the beauty of a conclusion that has always been as inevitable as their unlikely love story. – Kaz Weida
HUMANS, MAKE ROOM FOR FELINES OF NEW YORK!
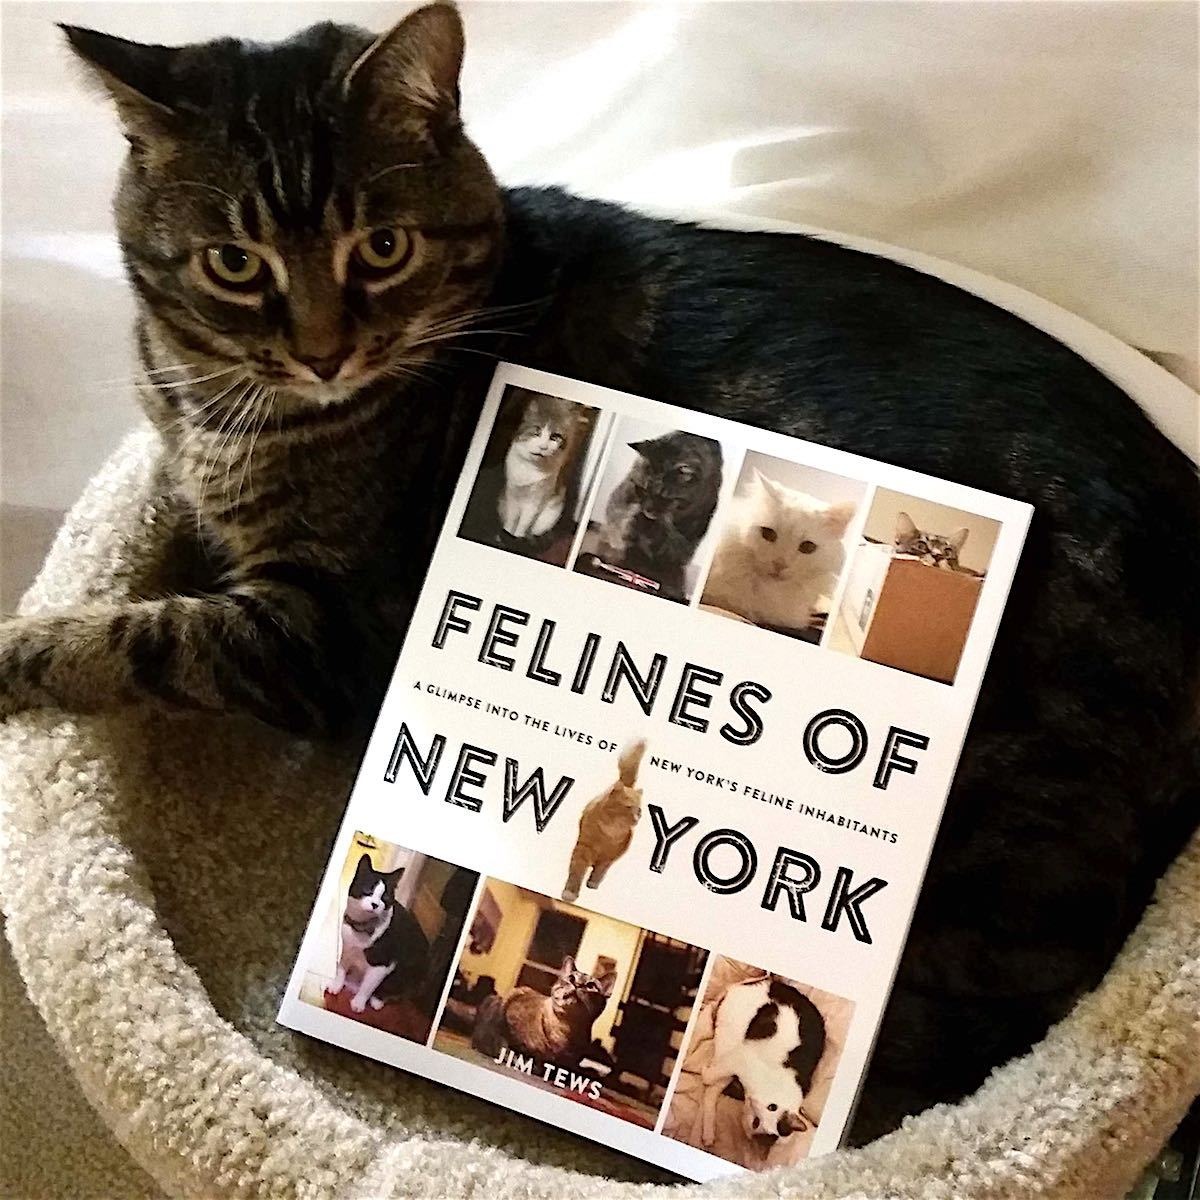
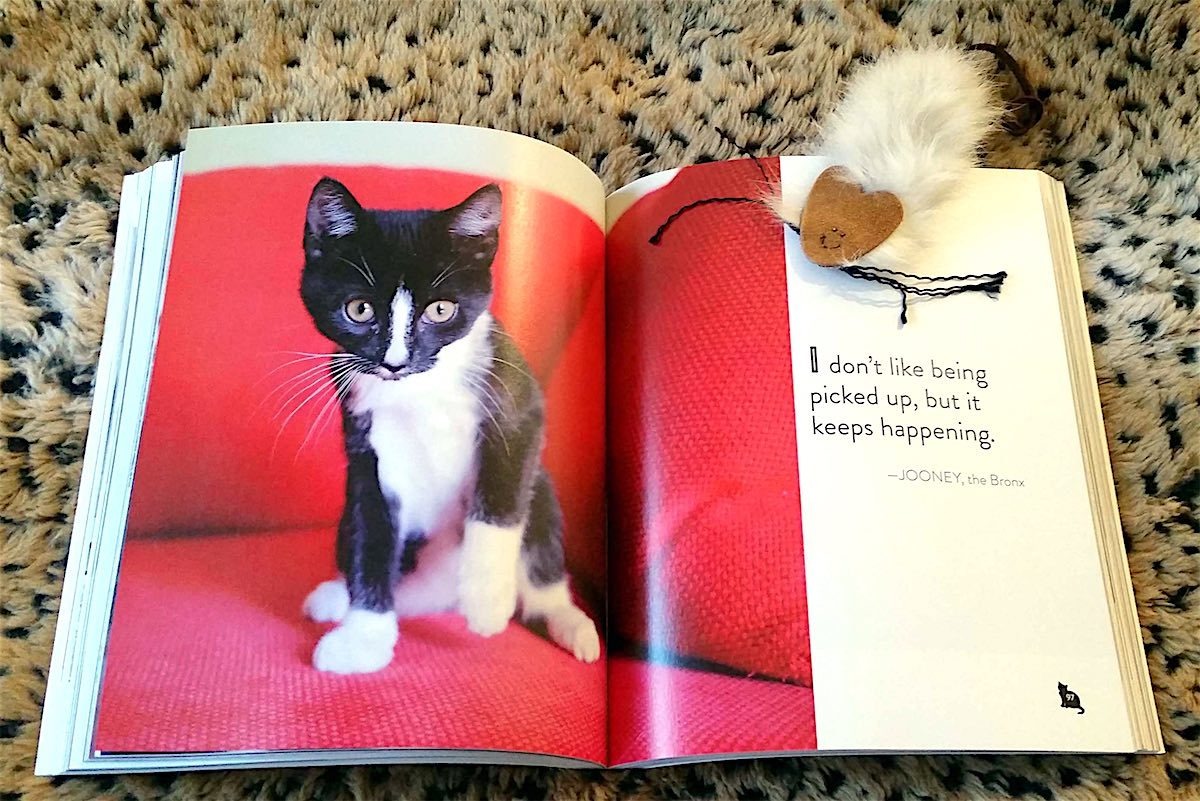
Felines of New York: A Glimpse into the Lives of New York’s Feline Inhabitants
by Jim Tews
Simon & Schuster
2015, 240 pages, 7.4 x 9.1 x 0.7 inches (softcover)
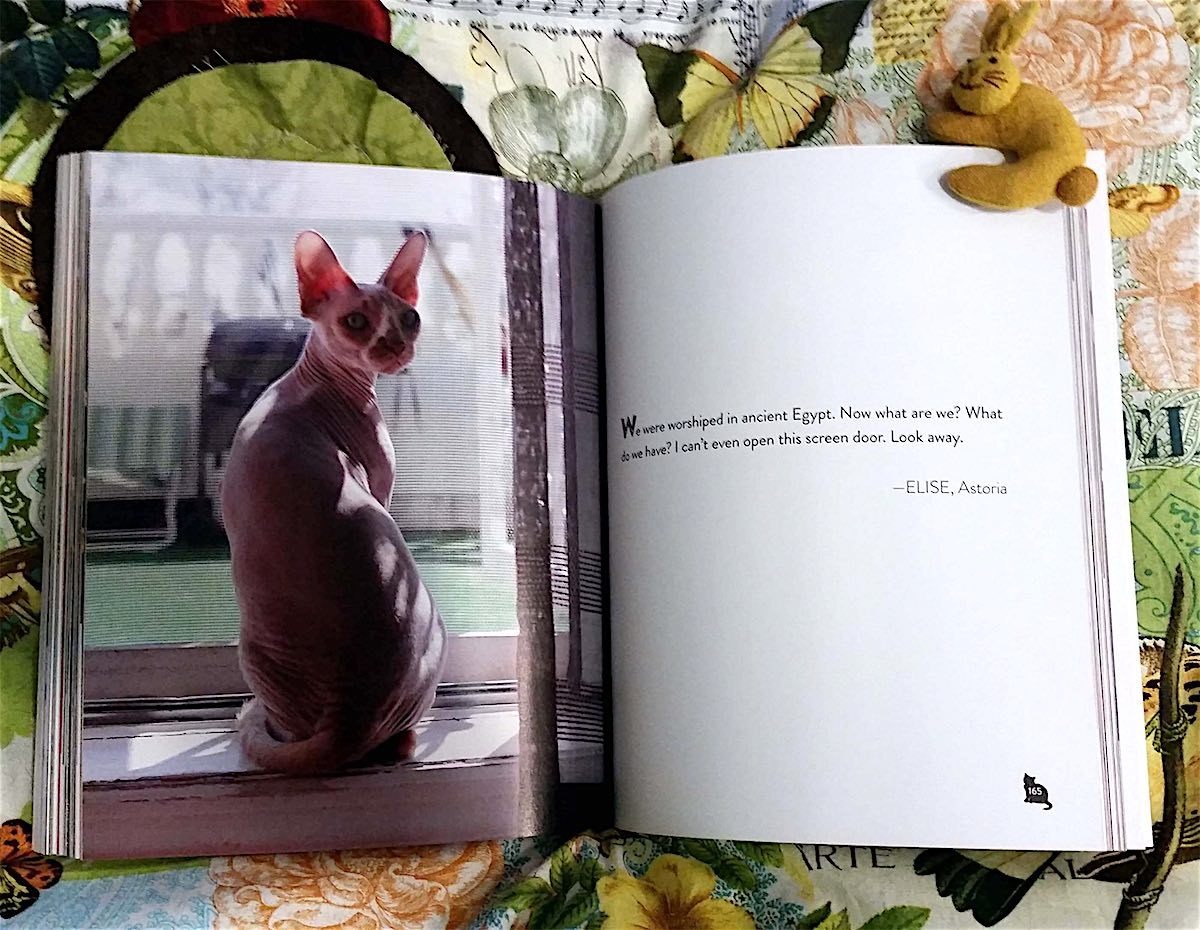
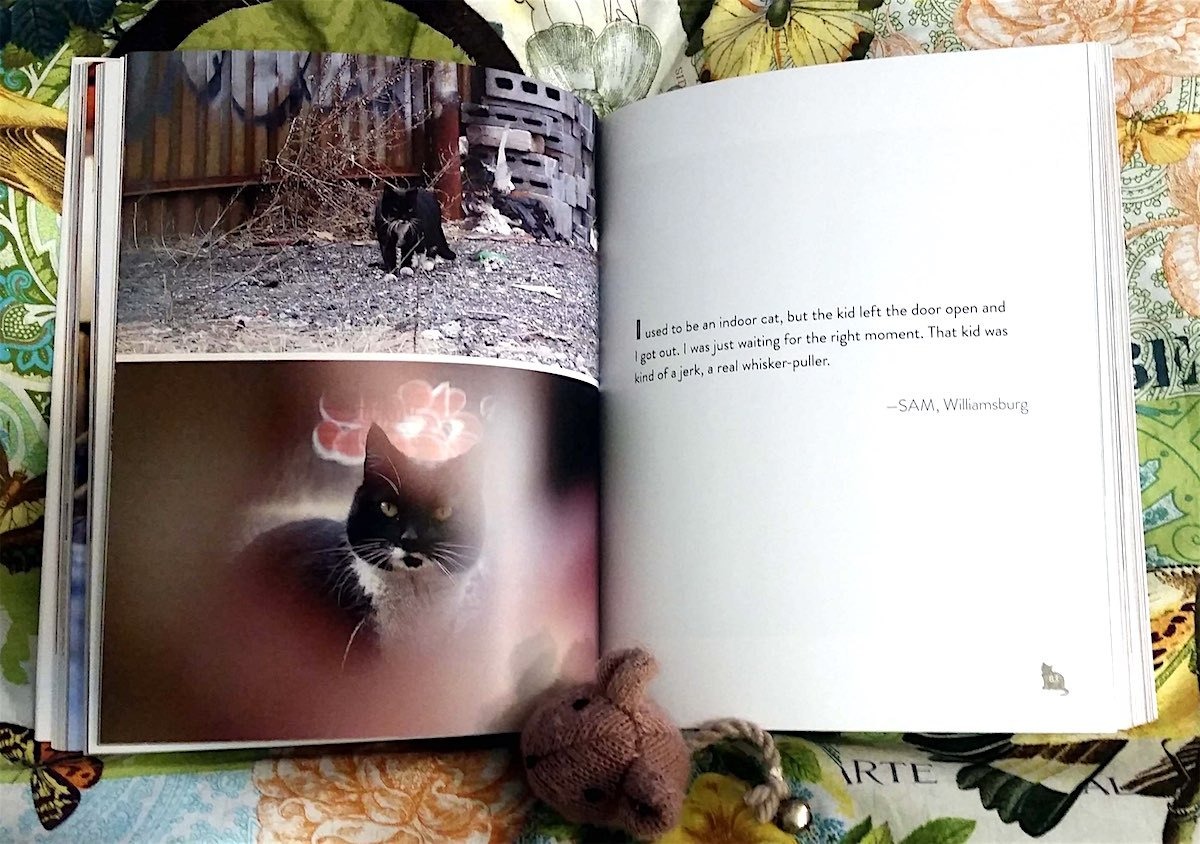
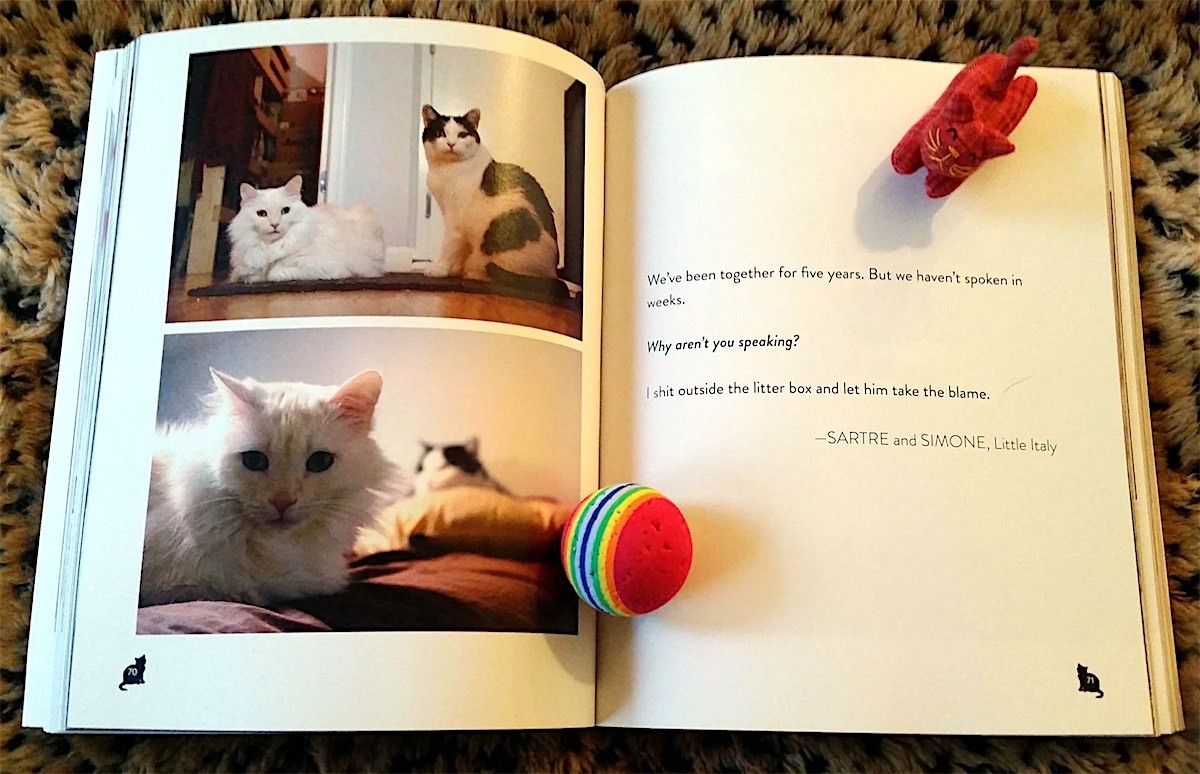
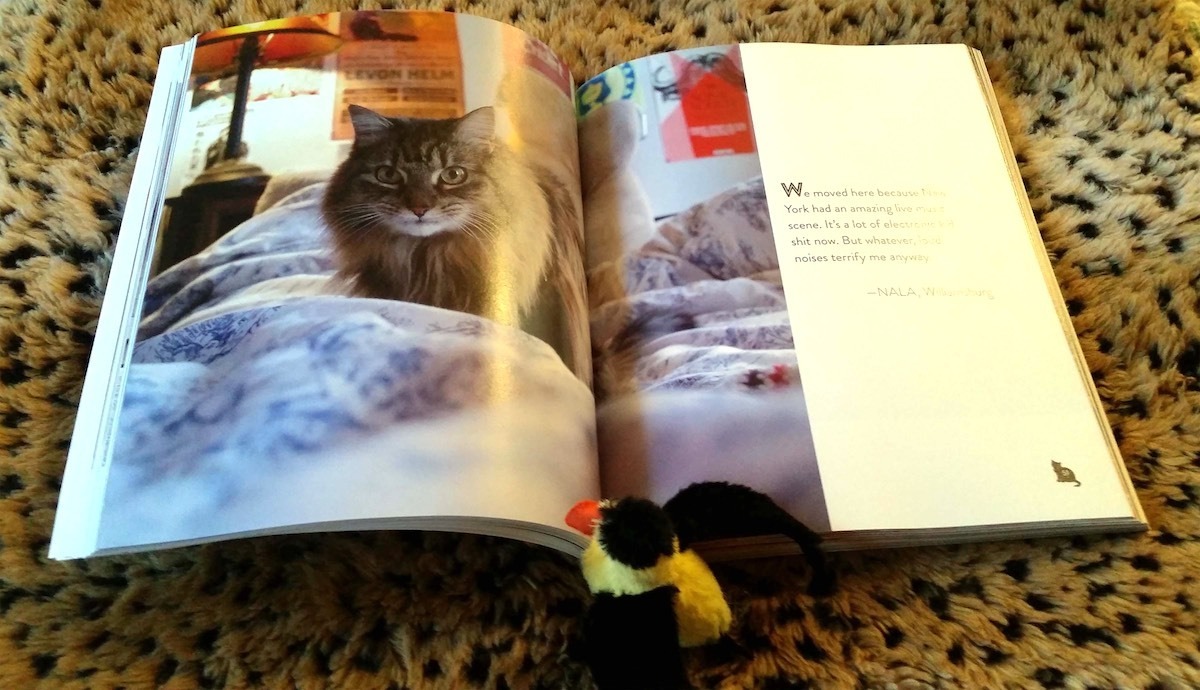
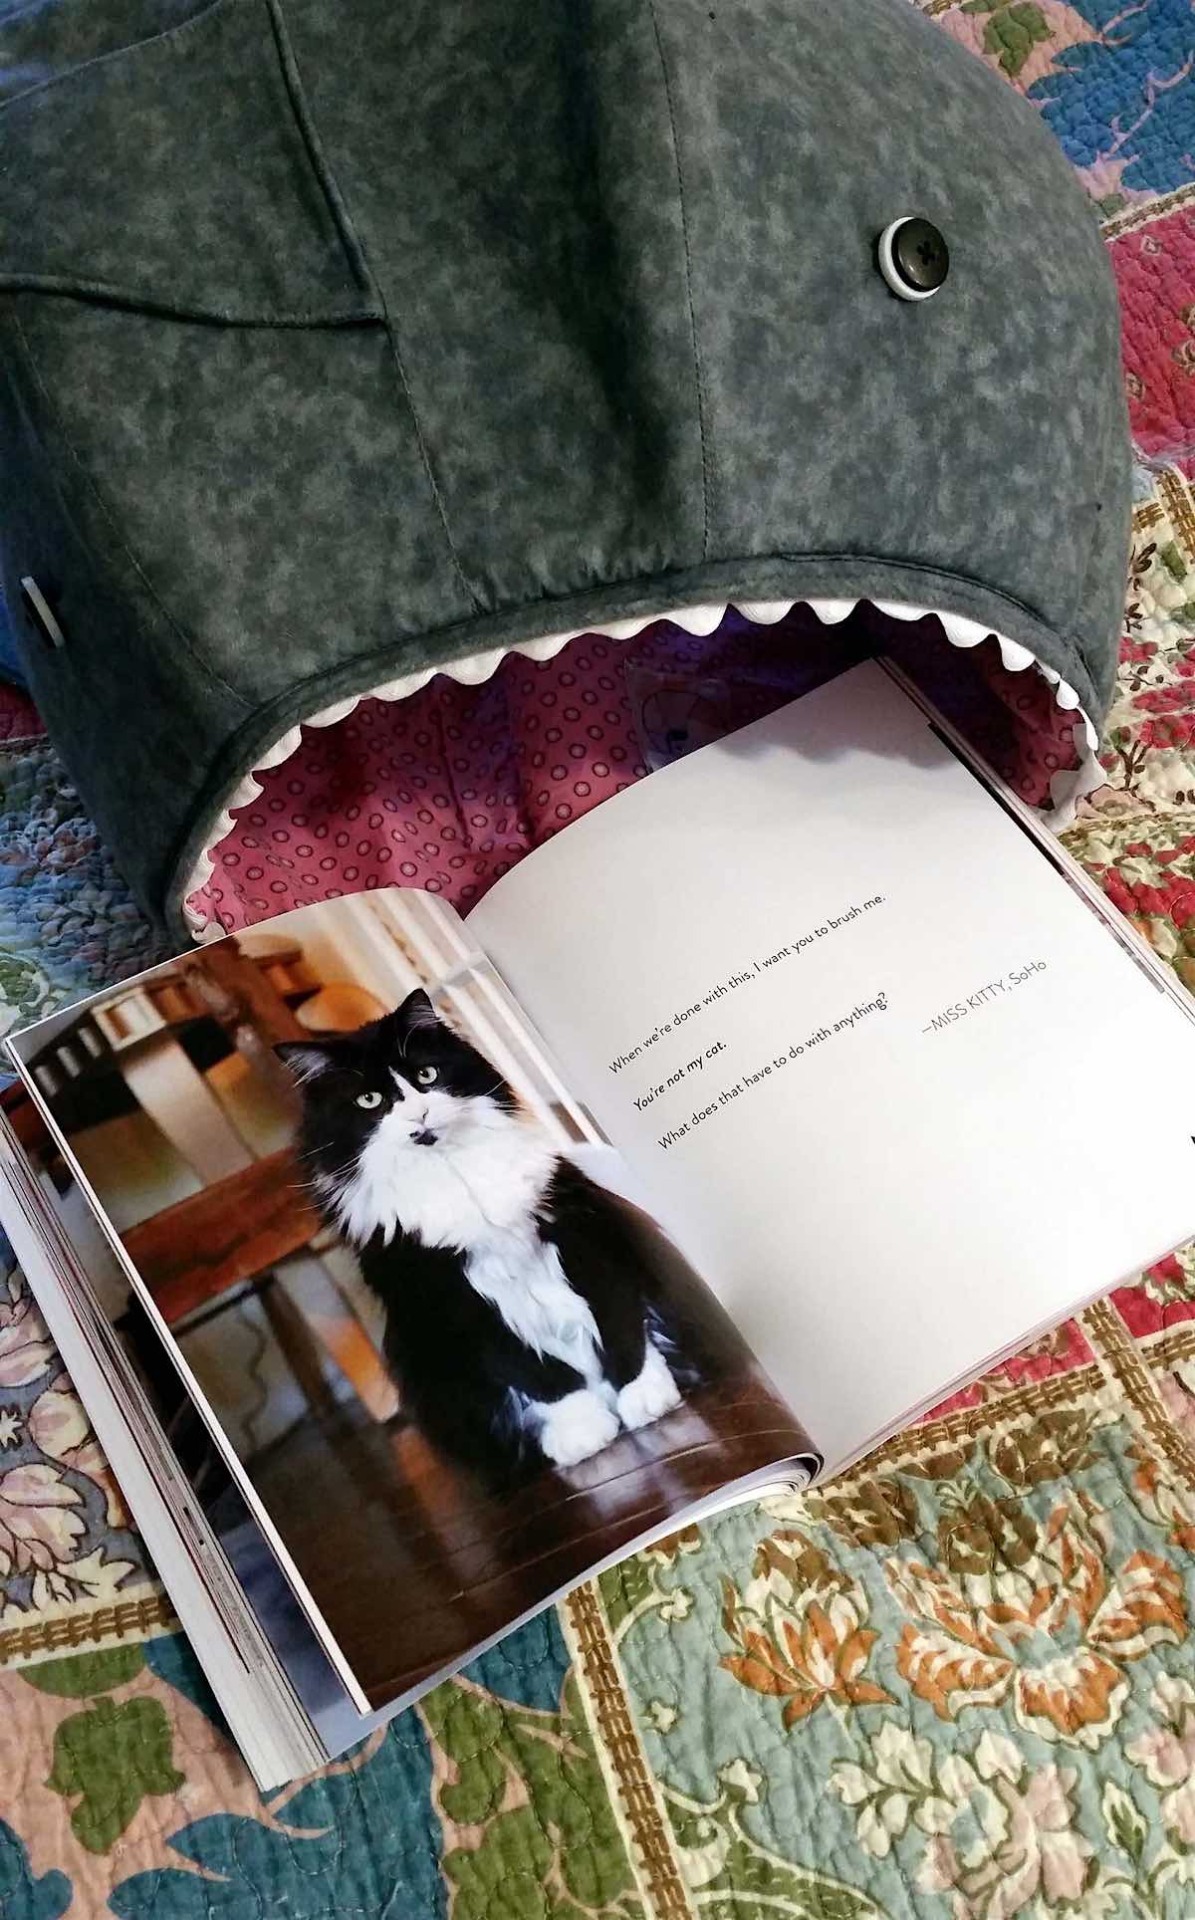
A beautiful book with glossy pages, the photographs of the myriad cats in Felines of New York are as diverse as the cats themselves: single portraits that occupy a single page, several that spread across two, working cats, attentive cats, cats ignoring the photographer – all are portrayed. Lolo, a silver tabby in Park Slope, is quoted as saying, “For me, showing love is more about what I won’t do than what I will do. For example, if I love you, I won’t shit outside your bedroom door.” Jeddy, a cat from the Lower East Side, tells us, “My grandparents immigrated here from New Jersey with nothing, and now I have this box. I wish they could see me. They’d be like ‘How the f— did you get that box? We never had a box.’ But I don’t know, the box kind of showed up and so I sat in it.”
Author and photographer Jim Tews takes snapshots of the cats he encounters in New York – both feral and community cats, as well as those that live with human owners. From the purebred to those with dubious origins, the photographs are beautiful portraits of cats in their habitats, and short interviews provide insight to their lives. So curl up with your cat and enjoy this book! – Carolyn Koh
Books That Belong On Paper first appeared on the web as Wink Books and was edited by Carla Sinclair. Sign up here to get the issues a week early in your inbox.
07/7/26ALL REVIEWS


EDITOR'S FAVORITES
COOL TOOLS SHOW PODCAST
WHAT'S IN MY BAG?
08 July 2026
ABOUT COOL TOOLS
Cool Tools is a web site which recommends the best/cheapest tools available. Tools are defined broadly as anything that can be useful. This includes hand tools, machines, books, software, gadgets, websites, maps, and even ideas. All reviews are positive raves written by real users. We don’t bother with negative reviews because our intent is to only offer the best.
One new tool is posted each weekday. Cool Tools does NOT sell anything. The site provides prices and convenient sources for readers to purchase items.
When Amazon.com is listed as a source (which it often is because of its prices and convenience) Cool Tools receives a fractional fee from Amazon if items are purchased at Amazon on that visit. Cool Tools also earns revenue from Google ads, although we have no foreknowledge nor much control of which ads will appear.
We recently posted a short history of Cool Tools which included current stats as of April 2008. This explains both the genesis of this site, and the tools we use to operate it.
 Kevin Kelly started Cool Tools in 2000 as an email list, then as a blog since 2003. He edited all reviews through 2006. He writes the occasional review, oversees the design and editorial direction of this site, and made a book version of Cool Tools. If you have a question about the website in general his email is kk {at} kk.org.
 Mark Frauenfelder edits Cool Tools and develops editorial projects for Cool Tools Lab, LLC. If you’d like to submit a review, email him at editor {at} cool-tools.org (or use the Submit a Tool form).
 Claudia Dawson runs the Cool Tool website, posting items daily, maintaining software, measuring analytics, managing ads, and in general keeping the site alive. If you have a concern about the operation or status of this site contact her email is claudia {at} cool-tools.org.


