Pro Digital Photographer’s Handbook
Best guide to new photography
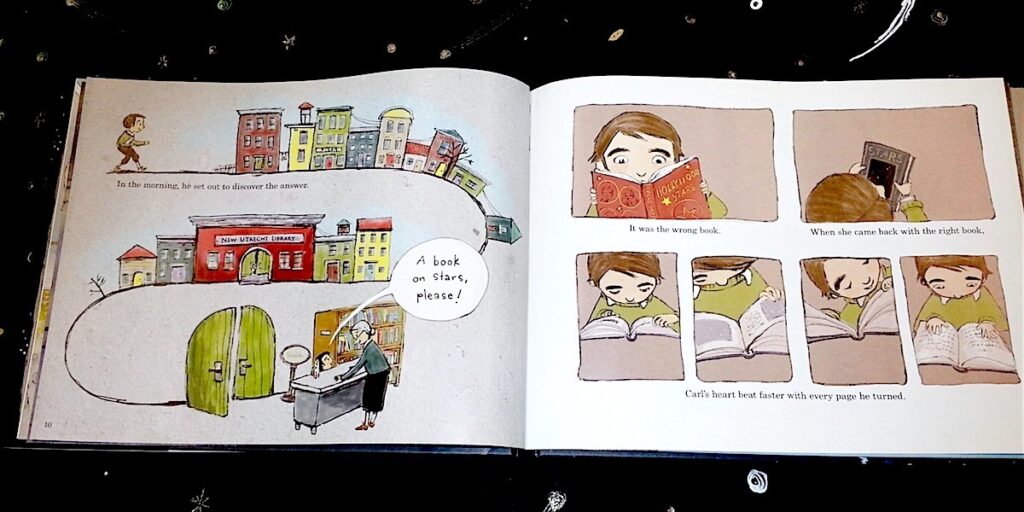
Wow! What a fantastic book. The digital revolution has completely overhauled nearly every aspect of photographic method. It isn’t just the cameras that are different. The whole process from conception to final output is all new. Now we have sensors instead of film, raw capture instead of negatives, Photoshop instead of the darkroom, lab color space instead of the zone system, ink jet printing instead of silver halide paper, and the web instead of galleries. Till now there hasn’t been a front-to-end guide to this new photography good enough to recommend. Most digital photography guides (there are hundreds!) deal with photoshopping and cameras, and leave everything else to art. I’ve been looking for a guru that will take me to the “why”at the bottom of things like”color profiling,” give me the tools of control in a scientific way, and stitch them together in a way that allows me to consistently produce the image I had in my mind. This masterpiece by Michael Freeman does all that. It is by far the best one-volume operating manual for serious digital photography I’ve seen. In fact, now that it is all digital, this is simply the best introduction to the craft of photography there is. I can’t praise it too much. Forget the Pro in the title; it’s for anyone intent on mastering this technology. Even someone who is new to cameras. The Handbook is extremely visual, with tons of diagrams, examples in color, great insights and practical tips, and a very systematic approach to the new path. Like the best guides, it strikes the perfect balance between simplistic overview and too much nerdy detail; every page has useful information new to me, and I’ve been photographing analog and digital a long time. Freeman is is also incredibly up-to-date. I can’t think of much important that he misses. There are some other great guides for specific tasks, like Raw capture, or digital printmaking, which I will review later, but for all around mastery of today’s photography (more than cell-phone shots), this is the best (re)education I know of.
11/17/05Excerpt
The image below left appears at first glance to be better exposed than the one below right, because the histogram shows the midtones to be fairly central. However, some of the highlights are clipped, and these are unrecoverable in image-editing. The lower exposure below right (one f-stop less) gives an image that looks darker, but note that nothing has been lost in the shadows and the highlights are also preserved. Optimized in Photoshop Camera Raw, it has a fuller dynamic range, evidenced by the lower peaks and higher troughs in the histogram.
*
Somewhere in the camera's menu is the option to select the color space, which may be called something else, such as color mode. A typical choice is between Adobe RGB and sRGB. The differences between these are explained on page 168, but for all serious use, select Adobe RGB. This has a wider gamut, which means that the camera will capture more colors from the scene.
*
By increasing the contrast, the dust particles become easier to see, though their effect can still be perceived before the effect is applied.
*
Removing particles from the sensor.
Make a mental note of where in the frame are the obvious particle shadows. Because an SLR image is inverted, the actual particles will appear in inverted positions when you examine the sensor.
Find a clean-air area and remove the lens. Ideally, put the camera body on a tripod so that you can work with two hands.
Follow the manufacturers' instructions for locking the mirror up to expose the sensor. This is important, because if you simply set the shutter speed to B or T, the sensor will carry a charge that will attract even more dirt. Typically, you would need to connect the camera to an AC adapter.
Sine a bright light, ideally a point source, onto the sensor and inspect from different angles.
Use a hand-operated bulb blower as shown. If this weak flow of air fails to removed everything, consider (at your own risk) the next step -- compressed air (see Warning box below).
*
Gicle - This odd term crops up occasionally on American websites, purporting to refer to high-quality printing, as in "gicle fine art prints." It is, in fact, pretentious nonsense. A French term meaning "squirted," it is totally unsuited to its intended application, which is inkjet printing. Companies offering this as a service should be approached with caution.
Pro Digital Photographer's Handbook Michael Freeman 2005, 256 pages $13